Pages

Subscribe:
Showing posts with label card svg. Show all posts

Sunday, February 26, 2012

Cascading Card


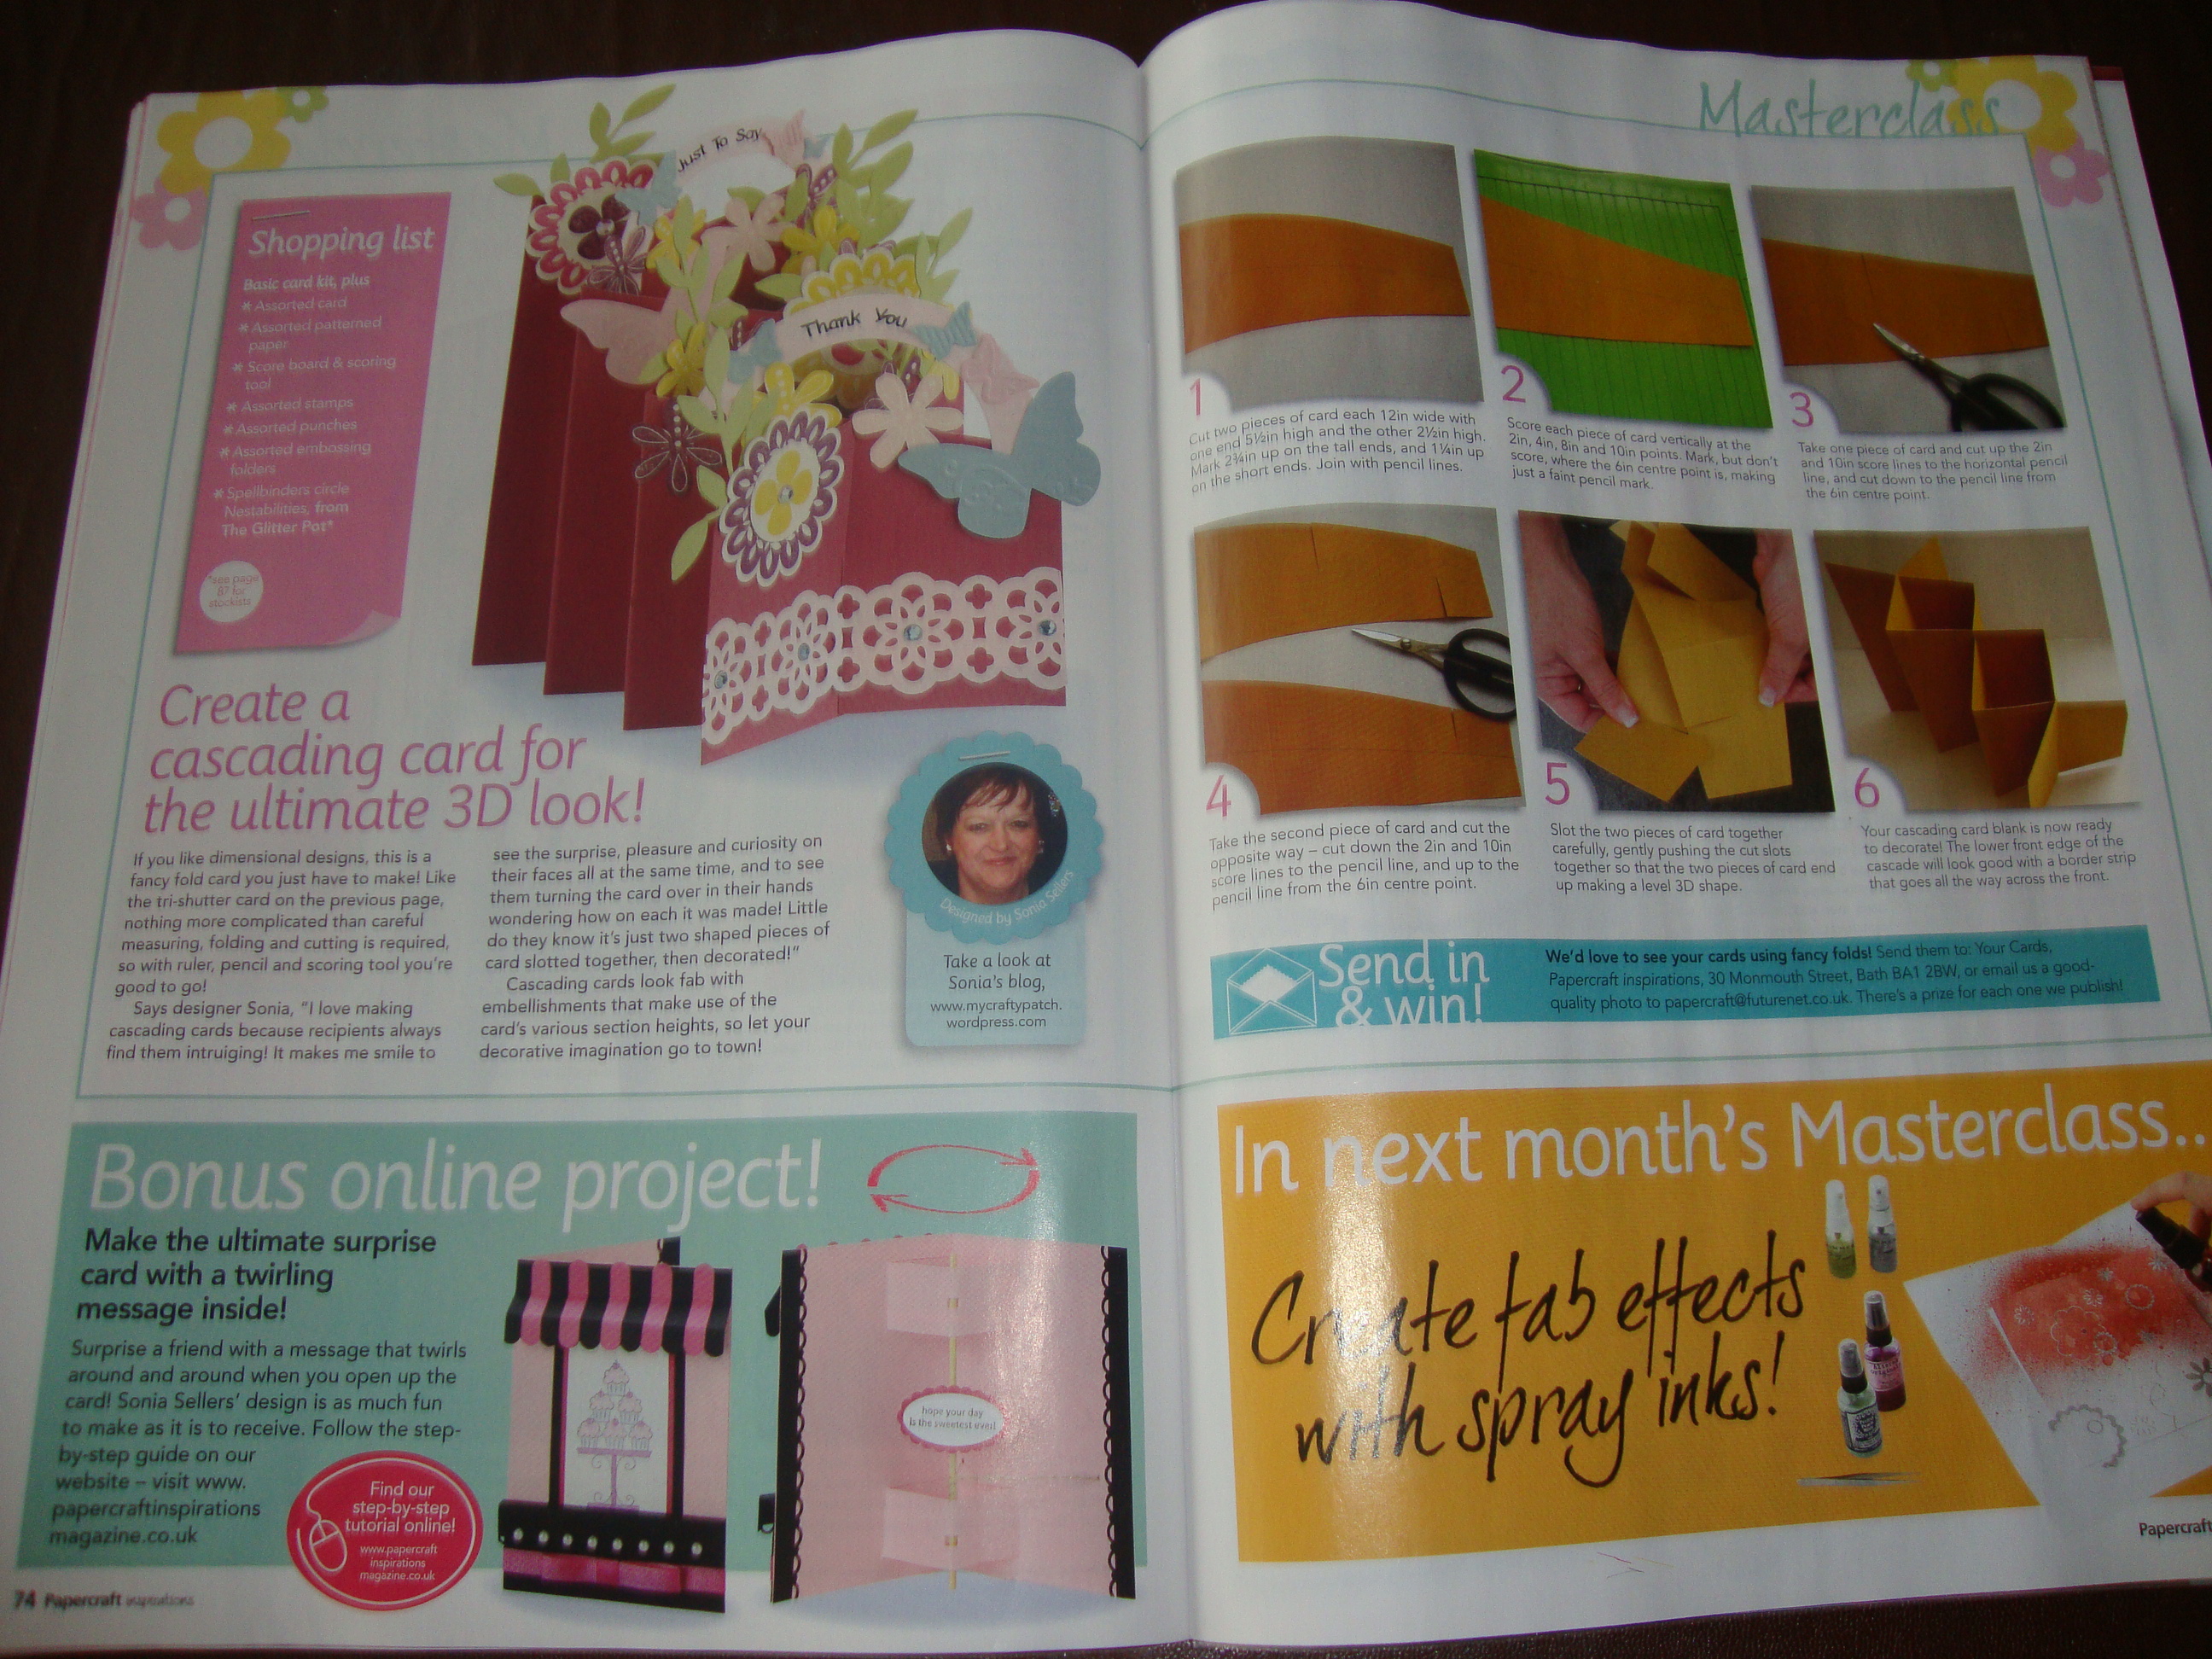
Played around with making an svg file to make this cascading card. The file will contain just the svg to cut the card. It is up to you to come up with your own embellishments.  I just cut out a lot of butterflies and fairies.


how it folds


with a border added to top edge

I did mine with double sided paper..I had to cut two ..i couldnt figure out how to rotate it to make it come out with two pieces that wenttogether with the adjacent matching colors. Maybe i'm crazy and you can figure it out..Or just use solid cardstock! 
Because this is an svg file, you can resize it easily to fit on 8.5 x 11 if you want.
card was about 4 by 5.5 without embellishments when cut from 12x12 paper

This card isn't working in mtc...I have a new version that I need someone to test. I don't know why mtc can't read the same svg files that scal can.

Please let me know if the new version works. it looks ok but i can't cut in mtc.

.


Saturday, August 20, 2011

Bird Cage Card

Download Card file

Sunday, July 31, 2011

Circle Step Card


                                         Round Side Step Card


Butterflies and fairies not included. I'm sure you have some. Mine were from my fairy_cuts font I sell. Or decorate in you own way.


Tutorial on circle card

Another side step dresser card with a mirror, shoes, panties and bra instead of baby items. It will look like a ladies bedroom instead.


..I didn't make this one because my Cricut isn't with me.

Wednesday, July 27, 2011

Baby Dresser Side Step Card

I came across this pretty card today and thought I would try and make one on the Cricut. I'm not too keen about following all those measurements. Also I'm in a hotel room, so I don't have much to work with such as stamps or other decorations. I say again, it wasn't my idea, but I got it from the tuturial below. She made dresser cards for older kids too.


Side step dresser Tutorial


Sorry this photo is rotated. It came from my iphone and looks right in explorer, but when it imports it is rotated..lol


I had fun decorating my nursery. I made 3 of each drawer and glued them together to make the dresser doors stand out. The holes are already in the middle of the drawers, making it easy to poke a brad through. I used buttons for the dresser knobs on the girls room.  Assemble your mobile and attach to the crib arm. Add paper strips to the base of the right side and to make wallpaper behind the crib. I added a small "mattress" strip of paper in the crib. I made a hanger for the clothing hanging on the crib in the boys room from a paper clip I had laying around. The card should fit in a standard card envelope. 


The file is layed out for 12x24 mat. One mat of "white" stuff. I cut that first on 12x12 mat, moving it over to right a little.  Then I move whole design to the left. Then other mat full of cuts is to the right and I center it at 6,6 in middle. Then put your four other colors around the middle of mat.

Friday, April 8, 2011

Easter Card with a Box

Make this cute card with a box for a treat.


This file is really a blank card. I used the bunny in scal spring to embellish the card.


If you have scal, then use the scut file to get the card and the embellishments.
                                                      Scut2 file with bunny and flowers added

This 3 d popup card was modelled from an idea I saw at Extremecards.blogspot.com. If you have never been to her blog, you should go. Many ideas and svg files are often provided.
Bunnies and Trees Window Pop0up from Extremecards


Here is my version.

                                                              3-d Bunny Window Card

This file might make a nice card front.

                      Bunnie in Archway

Enjoy!

Tuesday, February 22, 2011

Set of 3 Triangle Fold Note Cards


Make this set of 3 triangle fold note cards quickly and easily on your cricut with this file.

Download File to make 3 note cards


Make 12 cards by downloading this file

To use this file set y=.5 and x = .5 to get the first page.
                                          x= -11.5 for page 2.
                                          x= -22.5 for page 3.
                                          x= -35.0 for page 4.
                                          x= -47.0 for page 5. Cut 4 of page 4(the card base).  Cut 2 of page 3(to get enought triangles..you will have extra) Cut one of the other pages.

Glue your embellishments togehter(or add a stamped image instead). Only attach embellishment to one half of the opening card, leaving the other triangle free to open.


Download Envelope to fit this card

Thursday, February 17, 2011

This Rocking Chair Card Really Rocks!

Rocking Chair Card Download

Another Flower Shape to Fold

You can make this one large enough to be a card. I put three sizes of this flower in the file. There is one on the first page, two on the next. I cut the first one at max size. I put the smallest one in the middle of the card.


Download the Folded Flower Card

Sunday, February 13, 2011

Explosion Card III

One more explosion card.
This one makes more like a book or an album. Here is a great tutorial on how to make one if you DON"T have a cricut.

http://snsribbon.wordpress.com/2009/04/15/accordian-explosion-album-how-to/

My version you cut on the Cricut. It includes the score lines, so you can easily get the correct folds in the right place. It also cuts out the appropriate sized triangles and square. I used double sided paper from the  k and company specialty paper pack.

DOWNLOAD EXPLOSION CARD >>>>TAKES 2 CUTS>>>>MOVE OVER 12 inches to see triangles

Dowload Explosion card with no fold lines

I think the second one can be made larger....I don't think I resized it. It just cuts faster and once you make one, you may not need the dotted lines.


How it looks folded, before the triangles are added. Can you see tat the middle book section is folded the opposite of the first and last?  The middle goes "out" toward the screen, the othe two are folded in.
 Add triangles and squares and stamp messages.


 I cut the book cover 3.5 x 3.75 inches using the paper cutter.  I glued a ribbon inside the cover in the middle, then glued the folded up card, on top of the ribbon, letting the ribbon hang out on each side for closing.

People make these with photos in them too.

Check out this great valentine's version someone made!

Valentine explosion card by Nickie

Thursday, February 10, 2011

Explosion Card

Folded card

 Fully exploded!


 I hope you can see how this is folded from this picture. All the fold lines are marked with dashes. Looking at the picture below there is a valley fold between thetriangles with  two hearts on the top and between the two  ttriangles on the bottom
.


This card is fun and easy to make. Let the cricut cut out your 12x4 inch strip of paper and add the dotted fold lines.  Because the cricut won't actually cut 12x12(only 11.5 x 11.5) tMake sure your paper is exactly lined up straight before cutting on the mat. Then make sure the center of the card is centered at 6 inches in the center of the mat. You will have to snip the last .25 inches on each edge with scissors when you are done.

I cut the triangles out of double sided paper and just alternated the sides.  I added a 2x2 square in the middle to have a lighter color to stamp on. Glue on all the triangles and the rest, leaving an even border around the sides. Add stamp or other cut out embellishments on each triangle. This is lots of fun! I like how professional it looks when you are done.

The card will stand up for display.


The files is two mats wide. Cut the first triangles and rectangles on the first mat out of double sided paper. THen move over 12 inches or so until middle of 12x12 card is exactly on the six inch vertical line on the mat. Then make second cut

Wednesday, February 9, 2011

Tricky Flower Card

Download Flower cut file 


 How card looks folded

Fold all triangles down and petals up.

folding instructions/tutorial
fold all petals to the right


Add ribbon to close.


This file took a while to cut with all the score lines being cut on the cricut. If you have a scorepal, you might remove all the dotted lines, and just leave the end pts as an indication of where to score the paper. If you are only going to cut a couple of these cards, don't bother. Just leave the room for a few minutes while your cricut cuts away.


Enjoy!

Wednesday, February 2, 2011

Under the Sea Valentine Cards

                                                              Link fixed!!!!!!!!!!!!!!!!!!!
Download seahorse valentine card
Download picture of card

Monday, August 2, 2010

Side Step Card with Butterflies

I made this card for daughter, who is away for the summer, and has had many wonderful things happen to her this summent, including getting baptised.  I liked the way it came out, and thought you might want to make one too.

 You could just use a Happy Birthday or Happy Spring message instead of the one about the butterflies.

You could also use a butterfly stamp if you had one.

I made a file with the message and the butterflies in it that you can print and, sigh, manually cut out. Print on cardstock, it will look better. You can even print the text right on your colored card stock and then cut out your shapes.


Here is how I laid out my paper. The paper was from K&Company, says Brenda Walton Specialty Paper, it is two sided and has 24 papers. I lucked out and found it at Michaels a few months ago for 1.99 on clearance and bought two pads. It all coordinates beautifully together and looks like you have hand stamped or created it. I don't know if you can still find it, but worth a look see.UPDATE: FOUND IT ON CLEARANCE THIS WEEK(8/11/2010) AT MICHAELS FOR THE 1.99..IT WASN'T MARKED BUT THAT WAS THE PRICE IT RANG UP. CHECK OUT YOUR LOCAL STORE.


Here is the text and the butterflies to print in microsoft word

I entered my card into the Things With Wings challenge at Simons Says Stamp and Show.

 Check it out and enter your own creation by clicking here.

Thursday, July 29, 2010

Awning Cards: Ice Cream and Bakery

Today's cards are "awning" cards. We make a little awning and a shelf, load up our goodies. put a sign out, and we are open for business!

There is even a sentiment to cut inside.


This file has everything you need to make TWO cards, except for the card base. Make the card bases by cutting an 8.5 x 11 piece of card stock in half at 5.5 inches, and then folding it in half.. Make the awning by alternating the pink stripes onto the white awning. FOld at 1/4 inch then 3/4 inch below that. One fold is "up" one is down.
Attach awning with glue to top of card.  On store front bottom, fold over scallops to make a "shelf", glue onto bottom of card. Add the store sign if you want. Stock your store. I added a bow just below the shelf. You could decorate your cupcakes or ice cream tops with a little crystal glitter. I used pop up dots to put the tops onto the bottoms, for a little more dimensions.

You are going to want to add this one to your card collection and it is free!

Download file

Now that i've made the files, you can churn these out(little ice cream pun) quickly.  Make other stores, like pet stores or shoes(Remember that wc fetish  btfont with all the shoes in it?) I used cooper flaired font for my store names.

Sunday, July 25, 2010

Cards with Pop_out Flowers

Make this cute card with a pop-out flower. It is so easy using your Cricut to do the cutting!  Use a crisp paper that cuts smoothly for this project. Mine was a little ragged, but when I cut it on black paper it worked great.

Just cut the card, fold the petals up. line with a solid color. I put an embellishment in the middle. Added some adhesive paper ribbon.

For this card I used the cricut markers. I loaded the paper and switched the blade to a marker. I cut. Then I pressed load paper a second time. Changed back to the blade. Cut again. Now the petals are outlined in orange marker.


I used the "stencil" to color in the petals. Scalloped_flowers file contains the stencils. Just hold it in place with some temporary adhesive on top of your cut file. I used markers but you would get a much better look daubing on some ink with a sponge. Remove the stencil. Fold the petals up. I backed the flower with a solid color.


Related Posts Plugin for WordPress, Blogger...

Blog Archive